Understanding Forward Range on Garmin LiveScope LVS32 and LVS34

Forward Range is one of the most important settings on Garmin LiveScope, as it controls how far in front of the transducer the sonar image extends. Adjusting this setting correctly helps you maximize fish visibility, improve lure tracking, and focus on the right range for your fishing style.
What Does Forward Range Do?
Forward Range adjusts the distance displayed on your LiveScope screen, allowing you to scan farther or focus on a smaller, more detailed area.
- Higher Forward Range (80-100+ feet): Helps locate fish and structure at long distances, useful for scanning open water or finding suspended fish.
- Lower Forward Range (40-60 feet): Provides a clearer, more detailed image, making it easier to track fish and lures with precision.

When Should You Adjust Forward Range?
The best Forward Range setting depends on your fishing style, water depth, and screen size. Here’s when to adjust it:
- For Scanning Large Areas: Set Forward Range higher (80-100+ feet) to locate fish or structure before moving in closer.
- For Precise Lure Tracking: Use a lower Forward Range (40-60 feet) to keep your lure visible and maximize screen clarity.
- For Shallow Water Fishing: Shorter ranges (30-50 feet) prevent excess clutter and make fish easier to see.
- For Open Water Suspended Fish: Longer Forward Range (80-120 feet) helps spot fish far from the boat.
The Trade-Off: More Range vs. More Detail
- Higher Forward Range = More Distance, Less Detail – Great for scanning, but fish and lures may appear smaller and harder to track.
- Lower Forward Range = More Detail, Less Distance – Helps see fish and lures clearly, but limits how far ahead you can see.
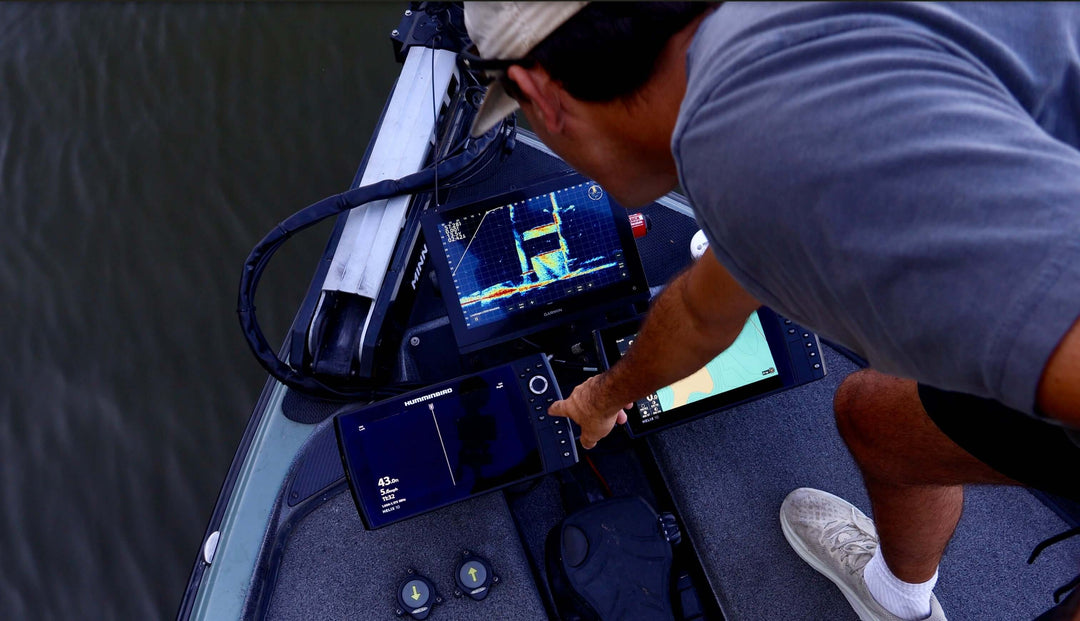
On smaller screens (9” or less), a lower Forward Range is usually better, as the pixels aren’t high enough to display distant targets clearly.
Practical Tips for Adjusting Forward Range
- Use Higher Ranges to Find Fish, Lower Ranges to Catch Them – Start at 80-100 feet for searching, then lower to 40-60 feet when targeting fish.
- Keep the Range Manageable for Your Screen Size – If using a smaller screen, avoid extremely high Forward Range settings.
- Adjust Based on Water Depth – In shallower water, shorter ranges (30-60 feet) prevent clutter.
- Combine with Gain and Color Gain for Maximum Visibility – Proper Forward Range settings work best when paired with optimized sonar tuning.
Final Thoughts
Forward Range is a critical setting that balances scanning distance with target visibility. If you’re searching for fish, use a longer range—but if you’re actively fishing, a shorter range gives you the best clarity. Experiment with different ranges based on water depth and your screen size to get the clearest picture.


