How to Set Forward and Down Range Together on Garmin LiveScope

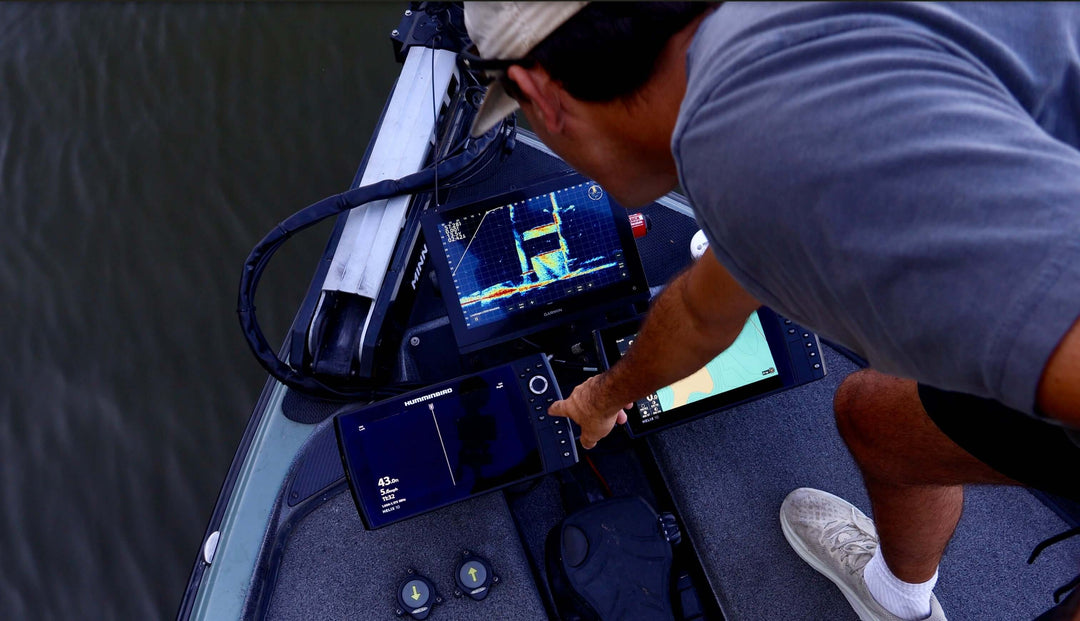
Finding the right balance between Forward Range and Down Range is essential for getting the best possible LiveScope image. A 3:1 ratio is a strong starting point, but it’s also important to adjust based on your screen size to avoid stretching the image too far in one direction. If Forward or Down Range is set incorrectly, the image can become distorted, making fish and structure harder to interpret.
The 3:1 Ratio Rule for Forward and Down Range
A 3:1 Forward to Down Range ratio provides a well-balanced sonar image that:
- Maximizes forward visibility while keeping depth in perspective
- Prevents a stretched or compressed image, making fish and structure appear correctly
- Allows for effective fish tracking and lure visibility without wasting screen space
Example settings using a 3:1 ratio:
- 30 ft Down Range → 90 ft Forward Range
- 40 ft Down Range → 120 ft Forward Range
- 50 ft Down Range → 150 ft Forward Range
However, screen dimensions matter too, so the ratio should be adjusted to fit your specific Garmin unit’s display size.
Matching Forward & Down Range to Your Screen Size
LiveScope screens have different aspect ratios, meaning it’s important to avoid setting Forward or Down Range too far in one direction.
Example: Garmin GPSMAP 1222 (12.1” Screen)
- Screen size: 6.4” tall x 10.3” wide
- To avoid distortion, Forward Range should be about 1.5x wider than Down Range on the screen
-
Ideal setting for 1222:
- Down Range: 40 ft → Forward Range: 120 ft (fits well on a 10.3” wide screen)
- Down Range: 30 ft → Forward Range: 90 ft (keeps sonar balanced)
For smaller screens (9” or less), keeping Forward Range lower prevents fish from becoming too small on the display.
-
A Garmin ECHOMAP 93sv (9” screen) should use:
- Down Range: 30 ft → Forward Range: 80-90 ft
- Down Range: 40 ft → Forward Range: 100 ft (max)
For larger screens (16”+), you can extend Forward Range more without losing clarity.
Adjusting Forward & Down Range Based on Fishing Style
- Shallow Water (less than 15 ft): Use a shorter Down and Forward Range (20-30 ft Down, 60-90 ft Forward)
- Open Water Suspended Fish: Increase Forward Range while keeping Down Range just slightly deeper than the fish (for fish at 20 ft, set Down Range to 25-30 ft)
- Vertical Fishing: Use more Down than Forward Range (40-50 ft Down, 80-100 ft Forward)
- Scanning Large Areas: Maximize Forward Range without making fish too small (50 ft Down, 150 ft Forward)
If fish are suspended, there is no need to see the bottom. Instead of using a standard Down Range setting, adjust it to be just deeper than where the fish are holding. For example, if fish are holding at 20 feet, setting Down Range to 25-30 feet keeps them centered on the screen without wasting space.
Avoiding a Distorted LiveScope Image
- Too much Forward Range (without adjusting Down Range) = Fish appear smaller and harder to track
- Too much Down Range (without increasing Forward Range) = Wasted screen space, making the bottom take up too much of the image
- Ignoring screen dimensions = Stretching or squishing the sonar image, making fish and structure appear unnatural
Practical Tips for Setting Forward & Down Range Together
- Start with a 3:1 Ratio and adjust as needed for screen size
- Match Forward Range to Screen Width to prevent fish and structure from looking stretched
- Keep Down Range Just Deeper Than Water Depth or Suspended Fish Depth for optimal visibility
- Adjust Based on Fishing Depth & Style – shorter for shallow water, longer for scanning
-
Play with other settings -Adjust Settings like Compress Range or Reverse Range if your image is skewed
Final Thoughts
Balancing Forward and Down Range ensures a clean, accurate sonar image that matches your screen size and fishing style. Using a 3:1 ratio is a great starting point, but always consider your display size to avoid stretching or compressing fish and structure. If fish are suspended, don’t focus on seeing the bottom—set Down Range just deep enough to keep them visible.
